
A good-looking prototype surface does not guarantee the finish of the injection-moulded part. Gloss, texture, flow marks, grain replication and perceived touch depend on the mould, the material and a real process window. An early visual approval can hide a risk that becomes visible only when the production mould finish is already committed.
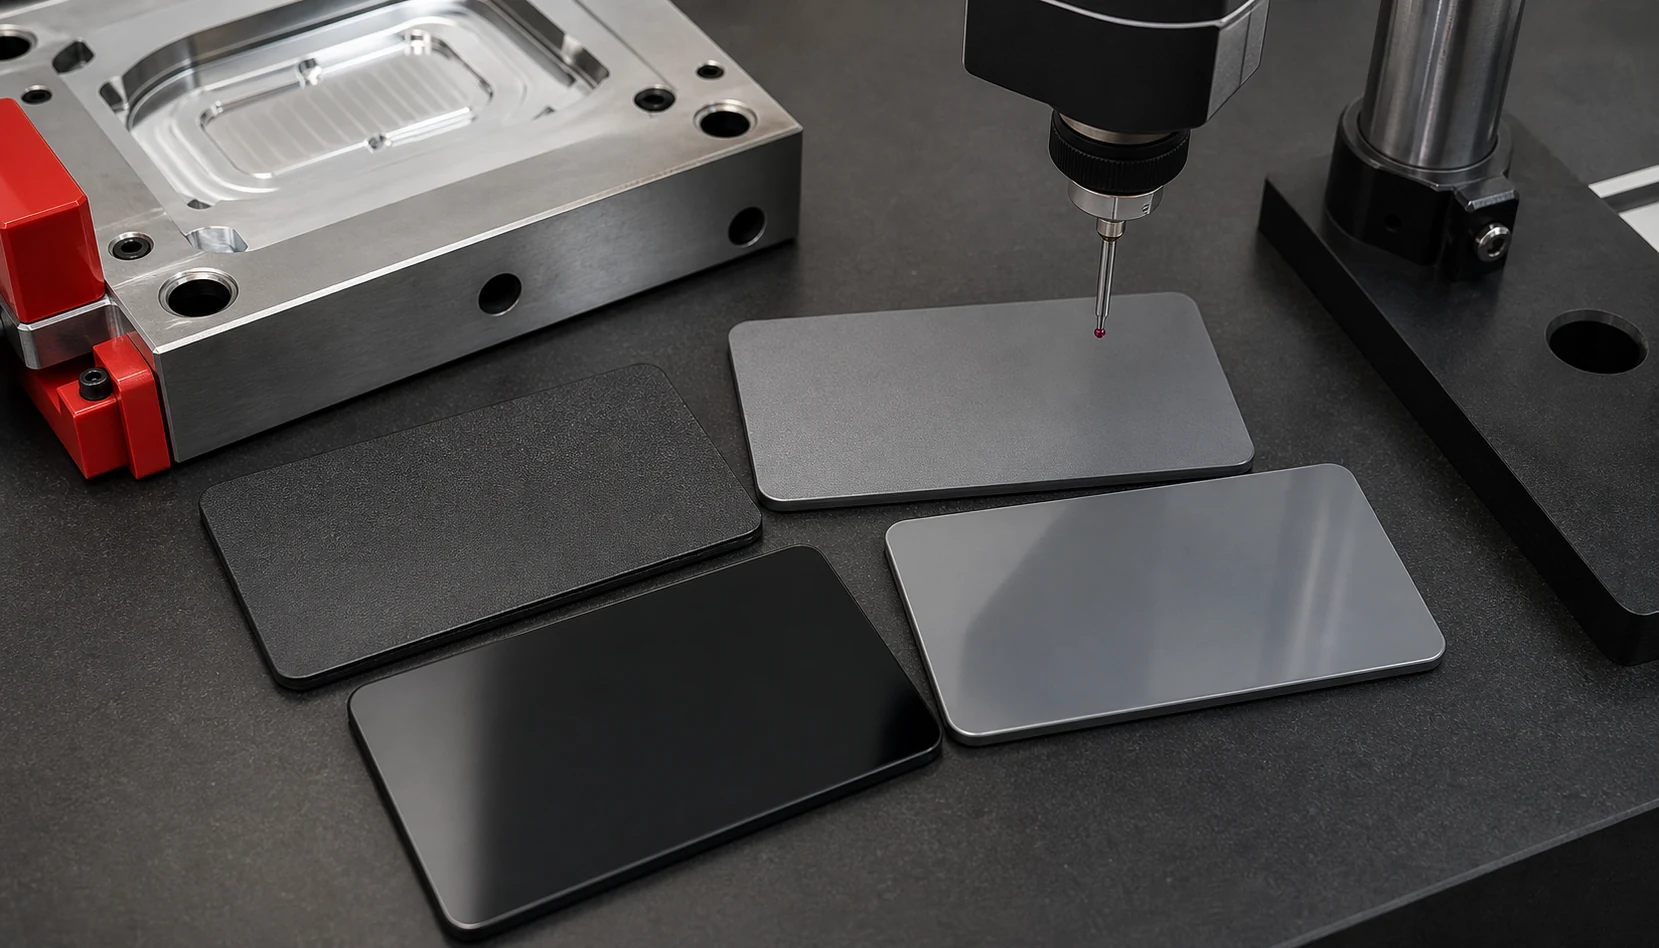
Key idea: a useful prototype does not simply prove that the part exists; it closes uncertainty that would be expensive in production tooling.
Surface finish is not only aesthetic
In many plastic parts, surface finish affects perceived quality, brand appearance, friction, cleaning, wear, sealing, contact with gaskets, light reflection and integration with visible assemblies. A glossy cover may look acceptable on a review table and still show flow marks in final assembly. A texture may hide visual defects but change touch, retain dirt or fail to reproduce uniformly in thin-wall areas.
It is useful to separate three questions: what the customer sees, what the drawing measures and what the function needs. If those questions are not translated into acceptance criteria, teams can end up debating subjective impressions when there is little room left to correct steel, process or material.
Ra does not explain everything
Ra roughness describes part of the surface profile: it is an arithmetic average of deviations from a mean line. It is useful, but it does not capture gloss, texture direction, material skin, flow lines, mirror effect, visual grain or tactile perception by itself.
Two surfaces with similar Ra values can look very different if peak distribution, texture direction or light reflection changes. The reverse can also happen: a visually acceptable part may fail the roughness criterion defined for a functional area. Ra should therefore be treated as one parameter inside a finish criterion, not as the whole criterion.
There is process between mould and part
The part does not copy steel perfectly. The material must fill the cavity, contact the surface, reproduce texture and solidify without unacceptable marks. Mould temperature, melt temperature, filling speed, packing pressure, packing time, venting, cooling and gate position all influence the result.
A mould with the correct texture can produce different parts if material changes, if speed is not enough to replicate the grain, if air is trapped, if the surface freezes too early or if a flow line appears in a visible area. In filled or reinforced materials, filler orientation can also modify gloss, surface skin and local appearance.
Variables worth controlling
- Material and colour: the same texture may look different in ABS, PA, PC/ABS, POM or materials with fibre, mineral fillers or pigments.
- Temperature: it affects cavity replication, gloss and surface-mark formation.
- Filling speed: it conditions flow lines, material skin and visual uniformity.
- Venting: poor air evacuation can create burns, matt areas or incomplete texture replication.
- Packing: it can influence sink marks, dimensional stability and marks around ribs or local masses.
- Measurement: results change if area, direction, equipment, filter, evaluation length and sample condition are not defined.
SPI, VDI and internal criteria
SPI or VDI references help specify finishes, but the project must translate them into measurable and acceptable criteria for the real application. A generic finish reference is not enough if the drawing does not define where it applies, what deviations are acceptable, which zones are critical and how differences between master sample, drawing and final part will be judged.
For aesthetic projects, it is useful to separate A, B and C surfaces; define master samples; agree lighting, inspection distance and viewing angle; and decide when instrumental measurement will be used. In functional zones, the criterion may depend more on roughness, friction or contact behaviour than on visual appearance.
How to measure so the data are useful
Measurement should be planned before the prototype batch. The team should state which surface is measured, in which direction, with which equipment, with which filter and at what point in the process. Measuring an easy but non-critical area can create false confidence. Measuring a curved, textured or very small surface without a repeatable method can introduce more variation than the part itself.
Recommended minimum protocol
- Define critical finish zones and separate visual, tactile and functional criteria.
- Relate each zone to the drawing, master sample or customer requirement.
- Establish the visual inspection method: lighting, distance, angle and observation time.
- Define instrumental measurement when needed: parameter, equipment, orientation, length and filter.
- Record material, colour, batch, temperature, speed, pressure, packing and venting.
- Compare parts at start-up, during process stabilisation and under representative conditions.
- Keep approved and rejected samples to avoid subjective discussions later.
Frequent mistakes
- Approving the finish only because the part is glossy or looks good in one isolated sample.
- Confusing Ra with gloss, texture or the complete visual perception.
- Measuring a non-representative area and extrapolating the result to the whole part.
- Not separating aesthetic requirements from functional requirements.
- Validating with a material or colour different from the one planned for series production.
- Not documenting lighting, measurement orientation or process conditions.
- Committing the final production mould finish before seeing a representative injection-moulded part.
What the injection-moulded prototype validates
An injection-moulded prototype compares real finish, texture, gloss, flow marks and visible defects with representative material and process before committing the production mould finish. It also helps decide whether the issue belongs to specification, texture, material, geometry or process window.
The industrial decision is not simply to approve or reject a surface. It is to determine which adjustment adds most value: changing texture, modifying gate position, improving venting, adjusting temperature, reviewing material, changing the measurement criterion or documenting an acceptable limit sample. The earlier this reading is made, the lower the risk of correcting late a surface that shapes the final perception of the product.
Frequently asked questions about surface finish
Is mould Ra the same as part Ra?
Not necessarily. The part replicates the cavity depending on material, temperature, speed, pressure and venting, so Ra must be verified on injected parts.
Why can gloss be misleading?
Gloss, texture and roughness are different. A part can look visually correct and still miss the specified roughness or texture criterion.
When should surface finish be measured?
In the prototype batch injected with representative material and process, before committing final production mould finish.
Technical sources checked
- ISO 21920-2:2021: terms, definitions and parameters for determining surface texture by profile methods.
- ISO 1302:2002: indication of surface-texture requirements in technical documentation.
- ISO 12085:1996: surface-texture parameters by the motif method.
These sources support the distinction between roughness parameters, texture and specification criteria. Final acceptance should be defined and measured on the injection-moulded part with representative material and process conditions.